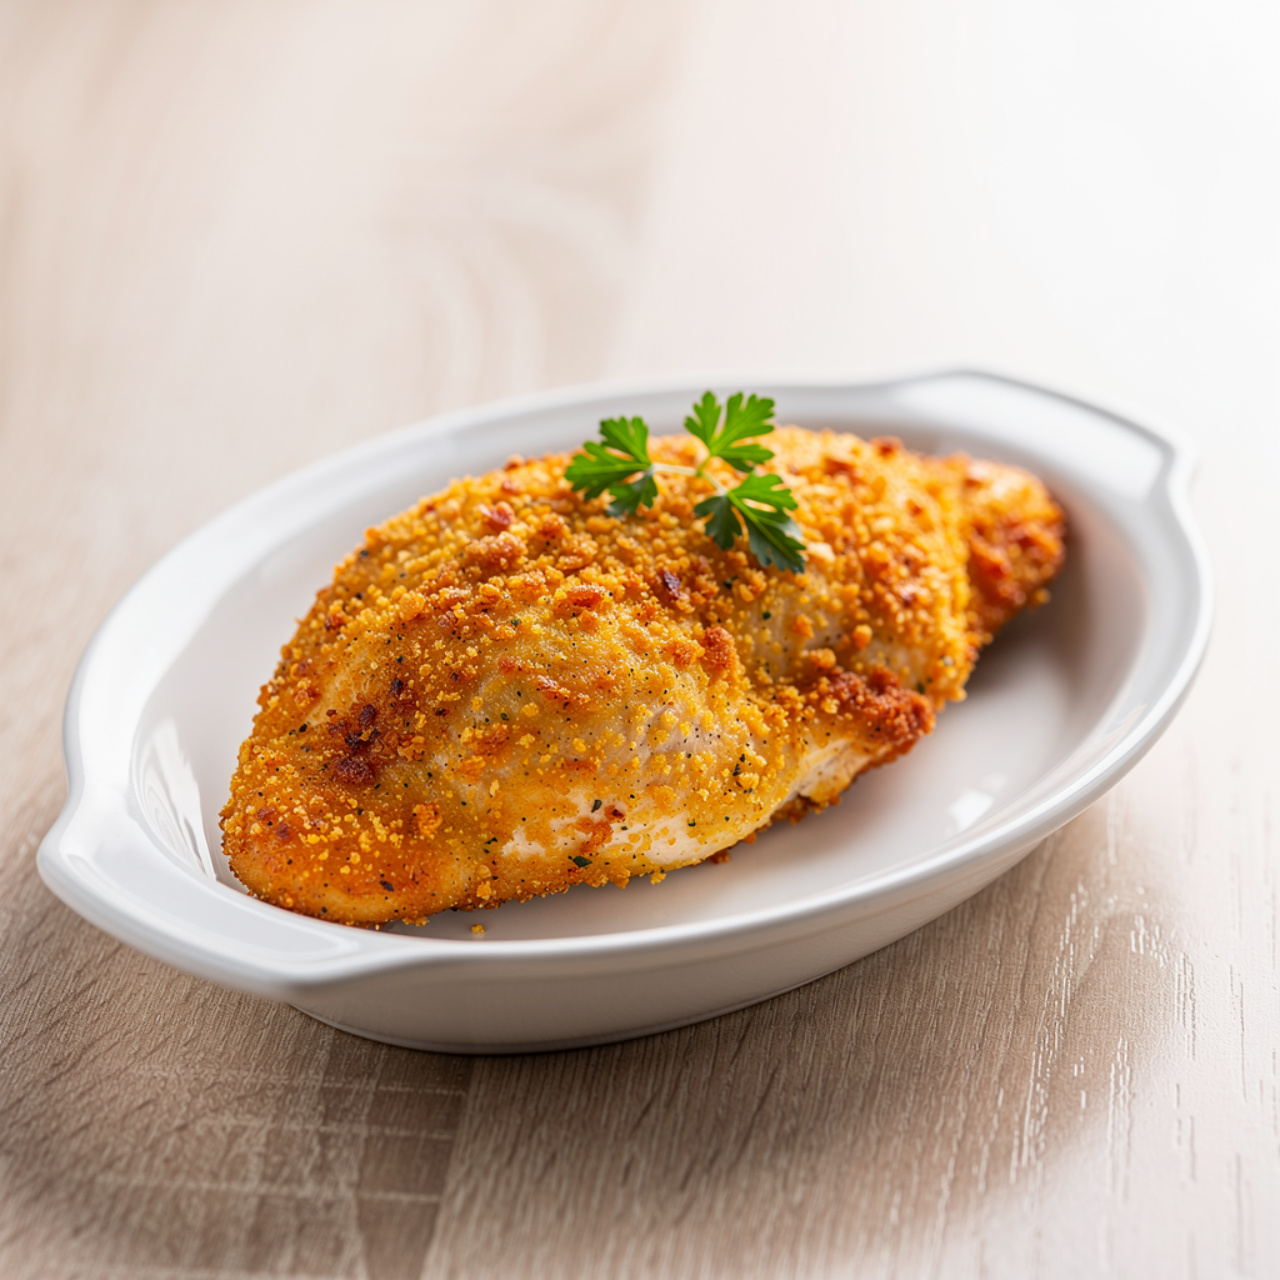
Crispy Breaded Chicken Tenders (Baked, Not Fried!)
These homemade breaded chicken tenders are golden, crispy, and baked to perfection — a simple weeknight dinner the whole family will devour.

The Last Breaded Chicken Recipe You Will Ever Need
There is something deeply satisfying about a chicken tender that is shatteringly crispy on the outside and impossibly juicy on the inside. These homemade breaded chicken tenders deliver exactly that, and they do it without a drop of frying oil. Whether you are searching for easy breast tenderloin recipes for a busy Tuesday or leveling up your game-day spread, this is the baked chicken breast tenderloins recipe that earns a permanent spot in your rotation.
This is the kind of simple breaded chicken recipe that looks like you put in serious effort but actually comes together in under 40 minutes. The secret? A panko-Parmesan crust, a whisper of Dijon in the egg wash, and one very important baking trick that changes everything.
Why Baked Beats Fried (Every Single Time)
Most people assume you need a deep fryer to get that satisfying crunch. Not true. The real key is hot, circulating air and panko breadcrumbs, which are airier and coarser than standard breadcrumbs and create a far crispier shell when baked at high heat.
By placing the tenders on a wire rack set over a baking sheet, heat wraps around all sides of each piece simultaneously. No soggy bottoms. No flipping constantly. Just even, golden crispiness from edge to edge.
This technique is the backbone of every great baked chicken breast tenders recipe, and once you try it, you will never go back to baking directly on a sheet pan.
Chef's Tip: Do not skip patting the chicken dry before breading. Surface moisture steams the coating instead of crisping it, and that is the number one reason breaded chicken turns out soft instead of crunchy.
The Breading That Makes the Difference
This is not your basic breadcrumb-and-salt situation. The coating here is built for maximum flavor and texture:
- Panko breadcrumbs for that light, shaggy, extra-crispy crunch
- Grated Parmesan for a subtle savory depth that regular breadcrumbs simply cannot offer
- Smoked paprika for warmth and a gorgeous golden color
- Garlic powder and onion powder because every great chicken tenderloin recipe for dinner starts with a well-seasoned crust
- Dijon mustard in the egg wash, which acts as a flavor bridge and helps the coating stick like glue
This combination is what separates a genuinely great breaded chicken tender recipe from the dozens of forgettable ones floating around the internet.
Tools and Ingredients That Actually Matter Here
Getting that perfect bake is so much easier when your setup is right. A sturdy wire rack, a reliable instant-read thermometer, and quality panko are small investments that pay off in a big way with recipes like this.
Tips for the Best Baked Chicken Tenders
Toast Your Panko for Next-Level Crunch
If you have an extra 4 minutes, toss the panko in a dry skillet over medium heat and stir until lightly golden before mixing in the seasonings. Toasted panko gives you a crunchier, nuttier crust that stays crisp longer, which matters a lot if you are making these for a crowd.
Do Not Crowd the Pan
Every piece needs its own space on the rack. Crowded tenders steam each other instead of crisping up. If you are doubling the recipe, use two baking sheets rather than squeezing everything onto one.
Use a Thermometer, Not a Timer
Ovens vary. The most reliable way to know your chicken is done is to pull it when the thickest part reads 165 degrees F (74 degrees C) on an instant-read thermometer. This also guarantees you never overcook the tenders and dry them out.
Chef's Tip: For even juicier results, look for chicken tenderloins that are roughly the same size so they all finish cooking at the same time.
What to Serve With Breaded Chicken Tenders
These work beautifully in so many directions. A few favorite pairings:
- Classic: Honey mustard, ranch, or BBQ sauce for dipping
- Elevated: Garlic aioli and a simple arugula salad with lemon vinaigrette
- Family dinner: Mac and cheese, roasted broccoli, or coleslaw
- Meal prep: Slice over a Caesar salad or tuck into a wrap with avocado and hot sauce
However you serve them, these homemade breaded chicken tenders are the kind of dish that disappears fast. Consider making a double batch.
Here is everything you need to make them yourself:
Crispy Breaded Chicken Tenders (Baked, Not Fried!)
These homemade breaded chicken tenders are golden, crispy, and baked to perfection — a simple weeknight dinner the whole family will devour.
Ingredients
- 1 1/2 lb chicken tenderloins, patted dry
- 1 1/2 cups panko breadcrumbs
- 1/4 cup grated Parmesan cheese, finely grated
- 1 tsp garlic powder
- 1/2 tsp onion powder
- 1/2 tsp smoked paprika
- 1/2 tsp dried Italian seasoning
- 3/4 tsp kosher salt
- 1/4 tsp black pepper, freshly cracked
- 2 large eggs, beaten
- 1 tbsp Dijon mustard
- 1 tsp olive oil spray, for coating the tenders before baking
Instruction
Preheat your oven to 425 degrees F (220 degrees C). Line a large baking sheet with a wire rack and lightly coat the rack with nonstick spray. This setup lets hot air circulate underneath the tenders for an all-over crispy crust.
Pat the chicken tenderloins completely dry with paper towels. Moisture is the enemy of crispiness, so do not skip this step.
In a shallow bowl, whisk together the beaten eggs and Dijon mustard until smooth. Set aside.
In a separate shallow bowl or plate, combine the panko breadcrumbs, Parmesan, garlic powder, onion powder, smoked paprika, Italian seasoning, salt, and black pepper. Stir well to distribute all the seasonings evenly.
Working one at a time, dip each chicken tender into the egg mixture, letting any excess drip off, then press it firmly into the breadcrumb mixture on both sides. Make sure the coating is fully and evenly adhered before placing it on the rack.
Arrange the coated tenders on the prepared wire rack in a single layer, making sure none are overlapping. Lightly spray the tops with olive oil spray.
Bake for 20 to 25 minutes, flipping once halfway through, until the coating is deep golden brown and the internal temperature of the chicken reaches 165 degrees F (74 degrees C) on an instant-read thermometer.
Remove from the oven and let rest for 2 to 3 minutes before serving. Serve immediately with your favorite dipping sauce.
Equipment
- Large baking sheet
- Wire rack
- Two shallow bowls or dishes
- Instant-read meat thermometer
- Whisk
- Paper towels
- Nonstick cooking spray
Notes
Storing and Reheating Leftovers
Leftovers keep well in an airtight container in the refrigerator for up to 3 days. To bring the crispiness back, reheat them in a 400 degree F oven or air fryer for 5 to 7 minutes. The air fryer is particularly great here since it restores that just-baked crunch in minutes.
Avoid the microwave. It turns the beautiful panko crust into something soft and sad, and these tenders deserve better than that.
Make-Ahead Option
Bread the tenders up to 8 hours ahead and refrigerate them uncovered on the wire rack. Bake straight from the fridge, adding 2 to 3 extra minutes to the cook time. This is a genuinely handy trick for weeknight dinners when you want prep done before the chaos of the evening starts.