The Best Crispy Chicken Cutlets (Juicy Inside, Golden Outside)
These golden, crispy chicken cutlets are perfectly seasoned, breaded to perfection, and pan-fried until irresistibly crunchy. A foolproof weeknight dinner the whole family will request again and again.

The Only Crispy Chicken Cutlet Recipe You Will Ever Need
There are weeknight dinners, and then there are legendary weeknight dinners. Crispy chicken cutlets fall firmly in the second category. Whether you know them as chicken kotlet, schnitzel-style pan-fried chicken, or simply the best thing to come out of a skillet on a Tuesday night, this recipe delivers every single time. Golden on the outside, impossibly juicy on the inside, and seasoned all the way through the coating, these cutlets are the kind of meal that earns genuine compliments at the table.
This is not just another breaded chicken recipe. It is a deeply tested, flavor-layered method built around a few smart techniques that make all the difference: pounding the chicken to an even thickness, using a blend of regular and panko breadcrumbs for maximum crunch, and the optional but wildly effective mayonnaise trick that keeps every bite moist and tender.
Why This Recipe Works So Well
The secret to making the best ever chicken cutlets is not any single ingredient. It is the combination of smart prep and technique working together.
- Pounding the chicken ensures every cutlet cooks in the same amount of time, eliminating the dreaded raw-in-the-middle, burnt-on-the-outside problem.
- Buttermilk in the egg wash adds a subtle tang and helps the coating cling more effectively than plain egg alone.
- Parmesan in the breadcrumbs adds a savory, nutty depth that takes the flavor from good to genuinely great.
- A wire rack for draining (not paper towels) keeps the crust from steaming and going limp after frying.
Chef's Tip: Do not skip the resting step on the wire rack after breading. Letting the coated cutlets sit for even 10 minutes before hitting the hot oil gives the coating time to set and dramatically reduces the chance of it sliding off during frying.
The Mayonnaise Trick (Yes, Really)
If you have ever seen a recipe for chicken cutlets with mayonnaise and raised an eyebrow, you are not alone. But this technique, which involves spreading a thin layer of mayo directly onto the raw chicken before dredging, is one of the most practical tips in home cooking.
The fat in the mayonnaise bastes the chicken from the inside out during cooking, keeping it remarkably moist. The emulsifiers help the flour coating adhere perfectly. And the flavor? Completely undetectable in the finished cutlet. You taste crunch and seasoning, not mayonnaise. Trust the process on this one.
Before we get into the full method, having the right tools and quality ingredients makes a real difference for a recipe like this. A heavy cast iron pan holds heat evenly for consistent browning, and a reliable instant-read thermometer takes all the guesswork out of knowing when your chicken is perfectly cooked.
How To Make The Best Chicken Cutlets: Step by Step
Setting Up Your Dredging Station
Organization is everything here. Set up three shallow bowls in a line before you touch a single piece of chicken. Flour station first, egg and buttermilk second, seasoned breadcrumbs third. Season each layer, not just the breadcrumbs, because flavor at every stage is what separates a great cutlet from a bland one.
For the breadcrumb mix, the combination of regular plain breadcrumbs and panko breadcrumbs is deliberate. Plain breadcrumbs provide a solid, even base coat. Panko delivers those jagged, airy flakes that fry up into an audibly crunchy crust. Use both.
Getting the Oil Temperature Right
This is where most home cooks stumble. Oil that is too cool makes greasy, soggy cutlets. Oil that is too hot burns the coating before the chicken is cooked through. You are aiming for 350 degrees F (175 degrees C), which is easy to monitor with an instant-read thermometer. At this temperature the cutlets fry to deep golden brown in about 3 to 4 minutes per side, giving the interior plenty of time to reach a safe 165 degrees F without the exterior overcooking.
Chef's Tip: Always fry in batches. Crowding the pan drops the oil temperature significantly, which leads to steaming instead of frying and results in a soft, pale coating. Give each cutlet enough room to sizzle freely.
Ready to make them? Here is the complete recipe with every detail you need:
The Best Crispy Chicken Cutlets (Juicy Inside, Golden Outside)
These golden, crispy chicken cutlets are perfectly seasoned, breaded to perfection, and pan-fried until irresistibly crunchy. A foolproof weeknight dinner the whole family will request again and again.
Ingredients
- 2 lb boneless skinless chicken breasts, sliced horizontally into thin cutlets
- 1/2 cup all-purpose flour
- 2 large eggs, beaten
- 1/2 cup buttermilk, mixed with the beaten eggs
- 1 cup plain breadcrumbs
- 1/2 cup panko breadcrumbs, combined with plain breadcrumbs for extra crunch
- 1/4 cup grated Parmesan cheese, finely grated
- 1 tsp garlic powder
- 1/2 tsp onion powder
- 1/2 tsp smoked paprika
- 1 tsp kosher salt, divided between the flour and breadcrumb mixtures
- 1/2 tsp black pepper, freshly ground
- 2 tbsp mayonnaise, optional, spread on chicken before dredging for extra moisture
- 1/2 cup neutral oil for frying, vegetable, canola, or avocado oil
- 2 tbsp fresh flat-leaf parsley, chopped, for garnish
- 1 lemon, cut into wedges, for serving
Instruction
Place the chicken breasts on a cutting board and slice each one horizontally into two thin cutlets. Cover with plastic wrap and pound with a meat mallet or heavy skillet until each piece is about 0.25 inch thick. This ensures even cooking and a tender result.
Set up your dredging station with three shallow bowls. In the first bowl, combine the flour with a pinch of salt and pepper. In the second bowl, whisk together the eggs and buttermilk. In the third bowl, mix the plain breadcrumbs, panko, grated Parmesan, garlic powder, onion powder, smoked paprika, remaining salt, and pepper.
Optional but highly recommended: lightly spread about half a tablespoon of mayonnaise on each cutlet before dredging. This locks in moisture and helps the coating adhere beautifully.
Dredge each cutlet in the seasoned flour and shake off any excess. Dip it into the egg and buttermilk mixture, letting the excess drip off. Press it firmly into the breadcrumb mixture, coating both sides evenly. Set breaded cutlets aside on a wire rack while you heat the oil.
Pour the oil into a large heavy-bottomed skillet (cast iron works best) and heat over medium-high heat until it shimmers and reaches about 350 degrees F (175 degrees C). You can test it by dropping in a breadcrumb. It should sizzle immediately.
Working in batches to avoid crowding, add the cutlets to the hot oil. Cook for 3 to 4 minutes per side, until deep golden brown and cooked through to an internal temperature of 165 degrees F (74 degrees C). Do not move them around while they cook.
Transfer the cooked cutlets to a wire rack set over a baking sheet to drain. Never stack them on paper towels or they will steam and lose crispiness.
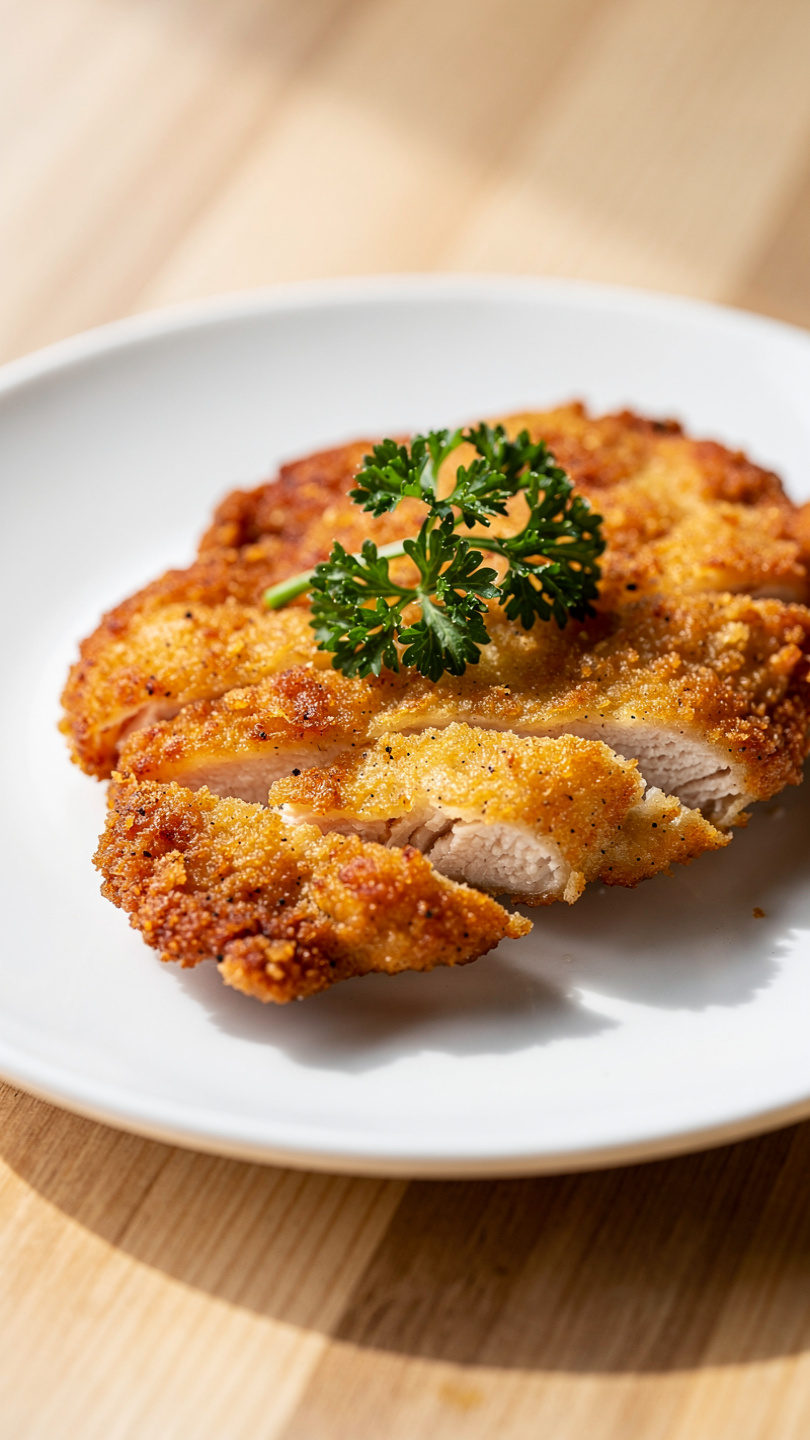
Garnish with fresh parsley and serve immediately with lemon wedges on the side.
Equipment
- Large heavy-bottomed skillet or cast iron pan
- Meat mallet or heavy skillet for pounding
- 3 shallow bowls for dredging station
- Wire rack set over a baking sheet
- Instant-read meat thermometer
- Tongs
- Cutting board
Notes
Serving, Storing, and Variations
How to Serve Chicken Cutlets
A fresh squeeze of lemon over the top right before eating is non-negotiable in this kitchen. The brightness cuts through the richness of the fried coating and wakes everything up. Beyond that, crispy chicken cutlets are endlessly versatile:
- Serve over a simple arugula salad with shaved Parmesan
- Slice and layer into a sandwich with lettuce, tomato, and aioli
- Plate alongside pasta with marinara for a quick chicken Parmigiana
- Serve with mashed potatoes and a pan gravy for a comforting dinner
Convection Oven Option
For those who prefer a lighter approach, convection oven chicken cutlets are a genuinely good alternative. The circulating hot air mimics the browning effect of frying with far less oil. Bread your cutlets the same way, spray them generously with cooking oil spray, and bake at 425 degrees F for 18 to 20 minutes, flipping once. The result is not quite as dramatic as pan-frying, but it is still crispy, satisfying, and significantly less messy.
Make Ahead and Storage Tips
Bread the cutlets up to 8 hours ahead and refrigerate them uncovered on a wire rack. Fry right before serving. Leftovers reheat beautifully in a 400 degree F oven for 8 to 10 minutes on a wire rack. Skip the microwave entirely if you care about the crust.